The greeting cards play a pivotal role in celebrating happy moments like birthdays, anniversaries, festivals etc. If you are tired of decorating the cards with glue sticks and glitters, then you can create video cards using Windows Movie Maker.
It can add several interesting features to your greeting cards like music, captions, themes etc. Apart from that, the applications give you the facility to share the cards with your friends through social networking sites like Facebook, You Tube etc.

How to create and organize video cards?
Once you install the Windows Movie Maker, it will be available in the programs list. You can use the search field for accessing it quickly. Before creating the video cards, select the photos/videos you want to use with it and note down its location. You can thus easily browse the photos from Movie Maker.
Apart from adding photos, it is possible to arrange them in your preferred way. You can create title slides and credit slides. To include the credit slides, you need to select the appropriate theme.

Steps to open Movie Maker
- Press the ‘Start’ button
- Type movie maker into search field
- Click on ‘Move Maker’ from search results
Adding photos/videos
- Go to the right side of the application screen
- Press the white box says ‘Click here to browse for videos and photos’
- Select photos/videos using Ctrl key
- Click the ‘OK’ button
Adding titles
- Press the ‘Home’ tab
- Click on ‘Title’ option
- Type a name into title slide
Steps to place video cards in order -
Hit the ‘Credit’ option under ‘Home’ tab for creating credit slide
- Double-click the pink box under the credit slide
- Fill up the textbox visible on the picture
- Drag the title slide to beginning and credit slide to end of the card
- Drag the photos/videos in the order you want
How to add themes, music and captions into video cards?
After creating the video cards, you can add songs into it by changing the themes. In addition to that, it is possible to write captions to photos or videos and adjust its font color, size and style.
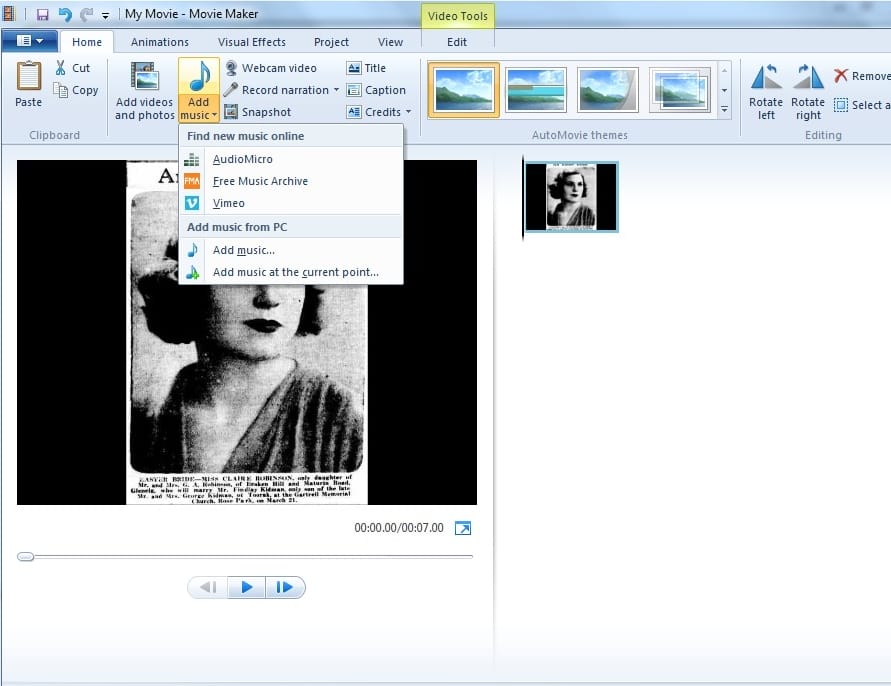
Steps to add theme and music
- Click on ‘Home’ tab
- Go to ‘AutoMovie theme’ section
- Point to each theme for preview
- Click on the theme which support music
- Select the songs you want after getting prompt message
Steps to add captions
- Press the ‘Home’ tab
- Click on ‘Caption’ option
- Type the text you want into the textbox
- Click on ‘Font Type’ drop down menu to change the font style
- Click the ‘A’ icon to change the font color
- Hit ‘More colors’ to get custom colors
- Click the drop down list next to font type to change the font size
Sharing video cards with Facebook or You Tube
The Windows Movie Maker provides the options for uploading the video cards directly to Facebook or YouTube. You need to login to these sites separately through internet browsers and select the video card like in usual uploading process.
The icons for certain social networking sites will be preloaded with the movie maker application which can be used for initiating the uploading process. You can then provide your ID and password for the corresponding site into the available fields. Once you login into the site, the selected movie will be published into it automatically.
- Select the movie you want to share
- Click on ‘Home’ tab
- Go to ‘Share’ group
- Click the icon for Facebook or You Tube
- Follow the given instructions
Conclusion
Windows Movie Maker provides a new way to create and decorate greeting cards. The main advantage of this application is that it can add photos and videos to the cards along with the option to write stylish captions. The direct uploading of video cards to social networking sites is another unique facility offered by Windows Movie Maker.
Most of the steps mentioned here are easy to execute without much browsing and technical know how. On the whole, making a different digital greeting card is quite easy with Windows Movie Maker.

