Scroll through Instagram or X on any given day and you will see jaw-dropping portraits, golden sunsets, vibrant street scenes, and perfectly lit food shots. The surprising part? A huge number of those photos were taken with a phone. The same kind of phone sitting in your pocket right now.
Here is the truth that most people miss: the gap between a forgettable photo and a stunning one has very little to do with how expensive your phone is. It has everything to do with how you use it. A person who understands light, composition, and their camera settings will consistently take better photos on a three-year-old budget Android than someone pointing an iPhone 16 Pro without a clue.
This guide covers exactly what separates great phone photos from average ones. From lighting and composition to camera settings and editing apps, these are practical tips you can apply the next time you reach for your phone camera, whether you use an iPhone, a Samsung, a Tecno, or anything in between.
Start With a Clean Lens
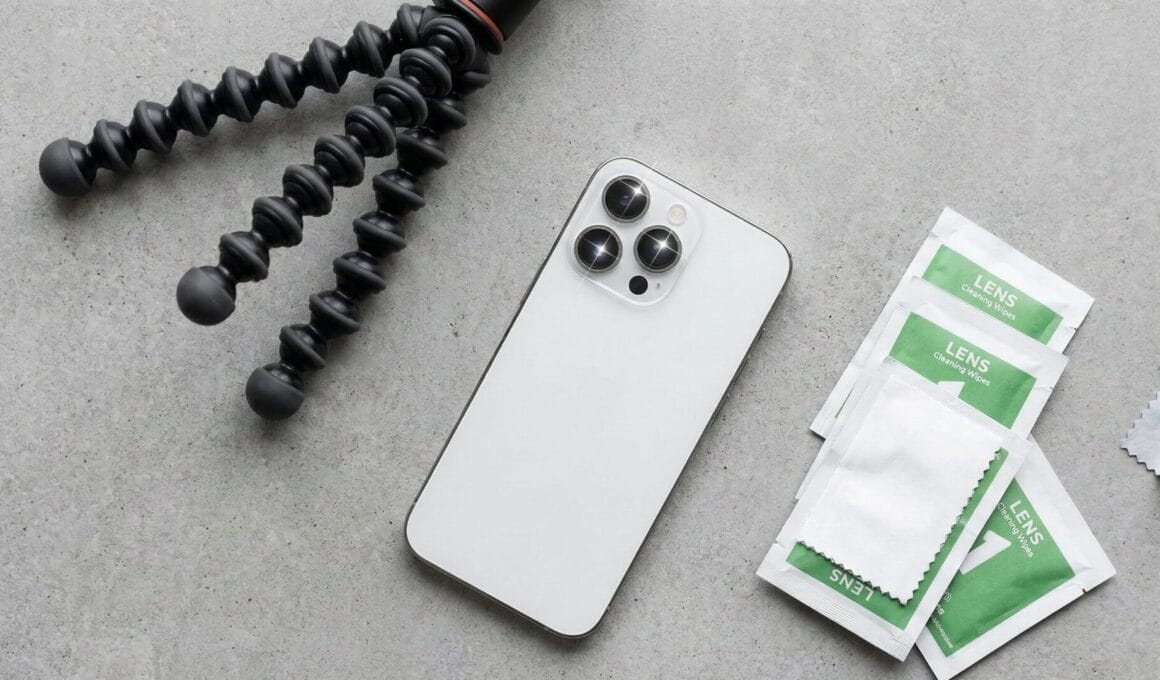
This one sounds too obvious to mention, but it is responsible for more blurry, hazy photos than almost any other factor. Your phone lives in pockets, bags, and hands all day. By the time you pull it out to take a photo, the lens is almost certainly covered in fingerprints, dust, or oils from your skin.
A dirty lens creates a soft, low-contrast, slightly foggy look that no amount of editing can fully fix. Before any important shot, give your lens a quick wipe with a clean cloth or even the soft inner fabric of your shirt. Ten seconds of effort, noticeably sharper results every single time.
Light Is Everything
If there is one principle that runs through all of photography, whether you’re shooting with a phone or a professional camera, it is this: light makes or breaks the photo.
Natural light is your best friend. Shooting outdoors gives your phone’s sensor far more to work with than any indoor environment, which is why outdoor photos almost always look crisper, more vibrant, and more detailed.
Golden hour is the magical window just after sunrise and just before sunset. During this time, the sun sits low in the sky and casts a warm, soft, flattering glow over everything. Portraits shot during golden hour look like they came out of a professional studio. Landscapes glow. Food looks appetising. If you have any control over when you take a photo, shoot during golden hour.
Avoid harsh midday sun when possible. Shooting under direct overhead sunlight creates deep, unflattering shadows, particularly on faces. If you have to shoot midday, look for open shade, a spot shaded from direct sun but still lit by open sky. The light there is soft and even without being dark.
Indoors, position your subject near a window rather than relying on artificial lighting or, worse, the phone’s built-in flash. The flash flattens everything, washes out colours, and creates that harsh, blinding look that makes indoor photos look like passport mugshots. A window with natural daylight coming through produces far softer, more flattering results.
Master Composition With These Simple Rules
Composition is how you arrange the elements inside your frame, and it is one of the most powerful tools you have as a photographer.
The Rule of Thirds is the most important compositional principle for beginners. Turn on the grid in your camera app. This divides your screen into nine equal sections with two vertical and two horizontal lines. The idea is to place your main subject along one of these lines or at one of the four intersection points, rather than dead centre. Photos composed this way feel more balanced, dynamic, and visually interesting.
To turn on the grid: on iPhone, go to Settings, then Camera, and toggle on Grid. On most Android phones, open the Camera app, go to Settings, and look for a “Grid Lines” option.
Leading lines are another composition technique worth mastering. These are natural lines in your environment, roads, fences, rivers, staircases, hallways, that draw the viewer’s eye toward your subject. When you include a strong leading line in your frame, your photo immediately gains depth and direction.
Change your angle. Most people shoot straight on or from slightly above. Try crouching down and shooting upward, or find a high vantage point and shoot downward. An unexpected angle makes ordinary subjects look dramatically different and far more interesting.
Simplify the frame. One of the most common mistakes in phone photography is including too much in the shot. Before you tap the shutter, scan the edges of your frame and remove anything that doesn’t add to the story. Take a step forward. Zoom with your feet, not the camera. A cleaner, tighter frame focuses the viewer’s attention on exactly what you want them to see.
Know Your Camera Modes and Settings
Modern smartphone cameras come loaded with modes and features that most people tap past without ever trying. Getting familiar with these can make a significant difference.
Portrait Mode uses the phone’s depth-sensing technology to blur the background while keeping your subject sharp. This creates the bokeh effect you see in professional portraits. Use it for people, pets, close-up product shots, or any situation where you want the subject to stand out clearly from the background.
Night Mode is a game-changer for low-light photography. It takes several frames in quick succession and stacks them together to produce a bright, detailed image in conditions where the camera would otherwise struggle. When you activate Night Mode, hold your phone as steady as possible and give it the few seconds it needs to work. The results are genuinely impressive on most modern phones.
HDR (High Dynamic Range) balances the bright and dark areas of a high-contrast scene. It is especially useful for landscapes and outdoor shots where the sky is much brighter than the foreground. With HDR on, you get detail in both the sky and the ground instead of one or the other being overexposed or underexposed.
Avoid digital zoom at all costs. Digital zoom does not actually zoom. It crops the image and enlarges it, which reduces resolution and creates a blurry, pixelated result. If you need to get closer to your subject, physically walk closer. If that is not possible, shoot wide and crop during editing. The result will always be sharper than using the digital zoom function.
If your phone has multiple lenses with optical zoom (such as a 2x or 3x telephoto lens), that is different. Optical zoom uses a separate physical lens and produces sharp results. Use that freely.
Tap to focus and expose. Most people let the phone decide what to focus on, and it guesses wrong surprisingly often. Tap on your subject before shooting to lock focus and exposure on the right spot. On most phones, you can also drag a sun or brightness icon up and down after tapping to manually adjust how bright or dark the image looks. This tiny habit alone will improve your photos noticeably.
Burst Mode for Moving Subjects
Photographing kids, pets, athletes, or anything in motion? Burst mode is the answer. It captures a rapid series of frames while you hold the shutter button, and you then select the sharpest, best-timed image from the sequence.
On iPhone, slide the shutter button to the left. On Android, hold the shutter button down. After the burst, go through the images and keep only the best one. Delete the rest to save storage space.
Hold Steady, or Use a Tripod
Camera shake is one of the primary causes of blurry photos, especially in lower light where the camera needs a slightly longer exposure time. Hold your phone with both hands, tuck your elbows in toward your body for stability, and exhale slowly before pressing the shutter.
For night shots or any situation where absolute stillness matters, a small phone tripod is worth every penny. Budget options are widely available and connect to your phone using a simple clip or adapter. A tripod completely eliminates shake and opens up creative options like long exposure shots, time-lapses, and perfectly steady self-portraits.
Editing: The Step That Separates Good From Great
Even the best-composed, perfectly lit shot often needs a light touch of editing to look its best. The goal of editing is to enhance what is already there, not to create something artificial.
Snapseed is the best free editing app available for both Android and iPhone. It offers precise control over brightness, contrast, shadows, highlights, and saturation. Its healing brush tool can remove unwanted objects from a photo. The selective tool lets you adjust specific areas without affecting the rest of the image. It is powerful enough for serious photographers while remaining accessible for beginners.
Adobe Lightroom Mobile is the choice for users who want professional-grade control. It supports RAW editing, colour grading, custom presets, and detailed adjustments. The free version covers most needs, and the paid version unlocks advanced tools.
VSCO is popular for its film-inspired presets and is particularly strong for creating a consistent aesthetic across a series of photos.
When editing, resist the urge to push everything to the extreme. Slightly increase brightness and contrast, add a touch of warmth, lift the shadows a little, and reduce highlights if the image looks blown out. Subtle edits produce natural-looking results. Heavy-handed editing makes photos look processed and artificial, which undermines the work you put into capturing them in the first place.
A Practical Tip Most People Ignore: Shoot More
This sounds simple, but it is genuinely one of the most effective things you can do. Take multiple shots of every subject from different angles, with different framing, at different distances. Globally, people take well over one trillion photos every year, with research suggesting smartphones account for over 90% of them. The photographers who consistently produce great images take more photos, not fewer. They give themselves options.
Review your photos critically. Ask yourself what you like about the ones that work and what feels off about the ones that don’t. That habit of reflection, applied consistently, will improve your eye faster than any single tip in this guide.
Quick Reference: Smartphone Photography Checklist
Before every shot, run through this mentally:
- Lens clean? Give it a quick wipe
- Light source identified? Position your subject accordingly
- Grid on? Place subject using rule of thirds
- Lens selected? Avoid digital zoom, use optical if available
- Mode right for the scene? Portrait, Night, HDR as needed
- Tapped to focus? Don’t let the camera guess
- Frame clean? Remove distracting elements at the edges
- Steady grip? Both hands, elbows in, or use a tripod
You do not need a camera upgrade to start taking better photos. The phone already in your hand is capable of producing images that would have required professional equipment a decade ago. What it needs is a photographer who understands light, thinks about composition, uses the right settings, and takes the time to edit with intention.
Start with one tip from this guide. Clean your lens before the next shot. Turn on your grid and apply the rule of thirds. Try golden hour for a portrait. Each small improvement compounds over time, and before long, the difference in your photos will be obvious to everyone, including you.
Which tip from this guide are you trying first? Or do you already have a phone photography habit that changed your shots? Share it in the comments below. We would love to hear from the TechCityNG community!