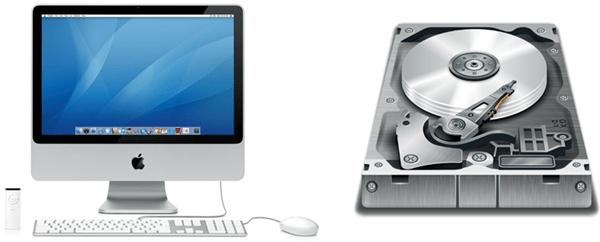
Wondering how to add a new partition to HD (or re-size hard disk partition) without reformatting your Mac hard drive? Partitioning the Hard Drive allows you to split it into multiple volumes with different names known as drive letters. With partitioning, you can easily manage your data in multiple partitions. Moreover, if you keep some personal data on a partition and if OS re-installation is needed, partitioning offers incredible succor to prevent media files from loss, can help fixing a slow Mac and even Mac freezing. But what if you already have data on your Mac computer and want to re-size your disk partitions? If you are running one of the recent versions of Mac OS X, you can use the Disk Utility software found in the Utilities folder within the Applications folder. As with all disk based operations it is good practice to have a back-up copy of your content.
Partition a Mac Hard Drive without Losing a Bit of Your Data
On an Apple iMac computer, you can perform Hard Drive partitioning using ‘Disk Utility’ without losing a piece of information. Using Disk Utility, you will be able to create multiple partitions on your disk without losing any data. Each partition works like a separate disk. You may need to create a new partition if you want to install multiple operating systems on your computer. Partitions can also help you organize your files.
The version of Disk Utility bundled with OS X 10.5 and later has some notable new features, specifically, the ability to add, delete, and re-size hard drive partitions without first erasing the hard drive. If you need a slightly larger partition, or you would like to split a partition into multiple partitions, you can do it with Disk Utility, without losing the data that’s currently stored on the drive.
Disk utility is a smart tool and will let you change the size of existing partitions and add new ones in the space just freed up, without erasing your data. It’s pretty good about telling you when you’ve done something that can cause data loss.
Note: You can find Disk Utility by clicking on ‘Applications’, and then ‘Utilities’.
Step by Step Tutorial to Safely Partition Your Mac Hard Drive (Without Losing Data)
1. Mount the Hard Drive on your Mac system to launch Disk Utility
2. Select the hard drive that has to be partitioned from the drive pane (Please note you need to select the drive itself and not the volume on it).
3. You’ll see a Partition tab after selecting the drive, click on it.
4. You will find a Partition Layout area showing your hard drive’s graphic representation. A single partition will be shown that is partially blue in color, which indicates the occupied portion of the hard drive, it does not show the location of the data).
5. You are now required to re-size the occupied portion. Simply, put the desired value in the field titled as ‘Size’ or you can drag the portion till gray lines begin.
6. Click the ‘+’ button shown below the partition (the sign allows you to add a partition). It will automatically consume the space left on the drive. You can continue adding more partitions in the same way.
7. When everything is all set, click ‘Apply’ in the bottom right corner. You can also use ‘Revert’ if you decide to not change the things.
In this way, you get your Hard Drive partitioned on the Mac computer. However, sometimes you find that the given procedure doesn’t work if not carried out properly. If so, you are suggested to use a professional partition manager application developed by software experts on sophisticated platforms.
Using such software, you can perform multiple tasks, such as creating new partition, resizing, deleting or formatting the existing partitions, resizing Mac partition by optimizing the free space etc. Additionally, the software will perform batch operations that prevent data loss and can help in fixing your Computer slow-down issues.
As an Amazon Associate, TechCity may earn a small commission if you shop these products.


